

Insty X Mount Instructions
Large print instructions can be found on our website at INSTYCONNECT.COM under the Help -> Install Guides menu.
IMPORTANT SAFETY & MOUNTING NOTICE
You are responsible for installing your X Mount and antenna correctly. Insty Connect is not responsible for damage, loss, or injury caused by improper installation, inadequate surface prep, weak magnet contact, adhesive failure, or failure to check adhesion before travel. This includes damage to vehicles, trailers, property, or personal injury.
Page 1
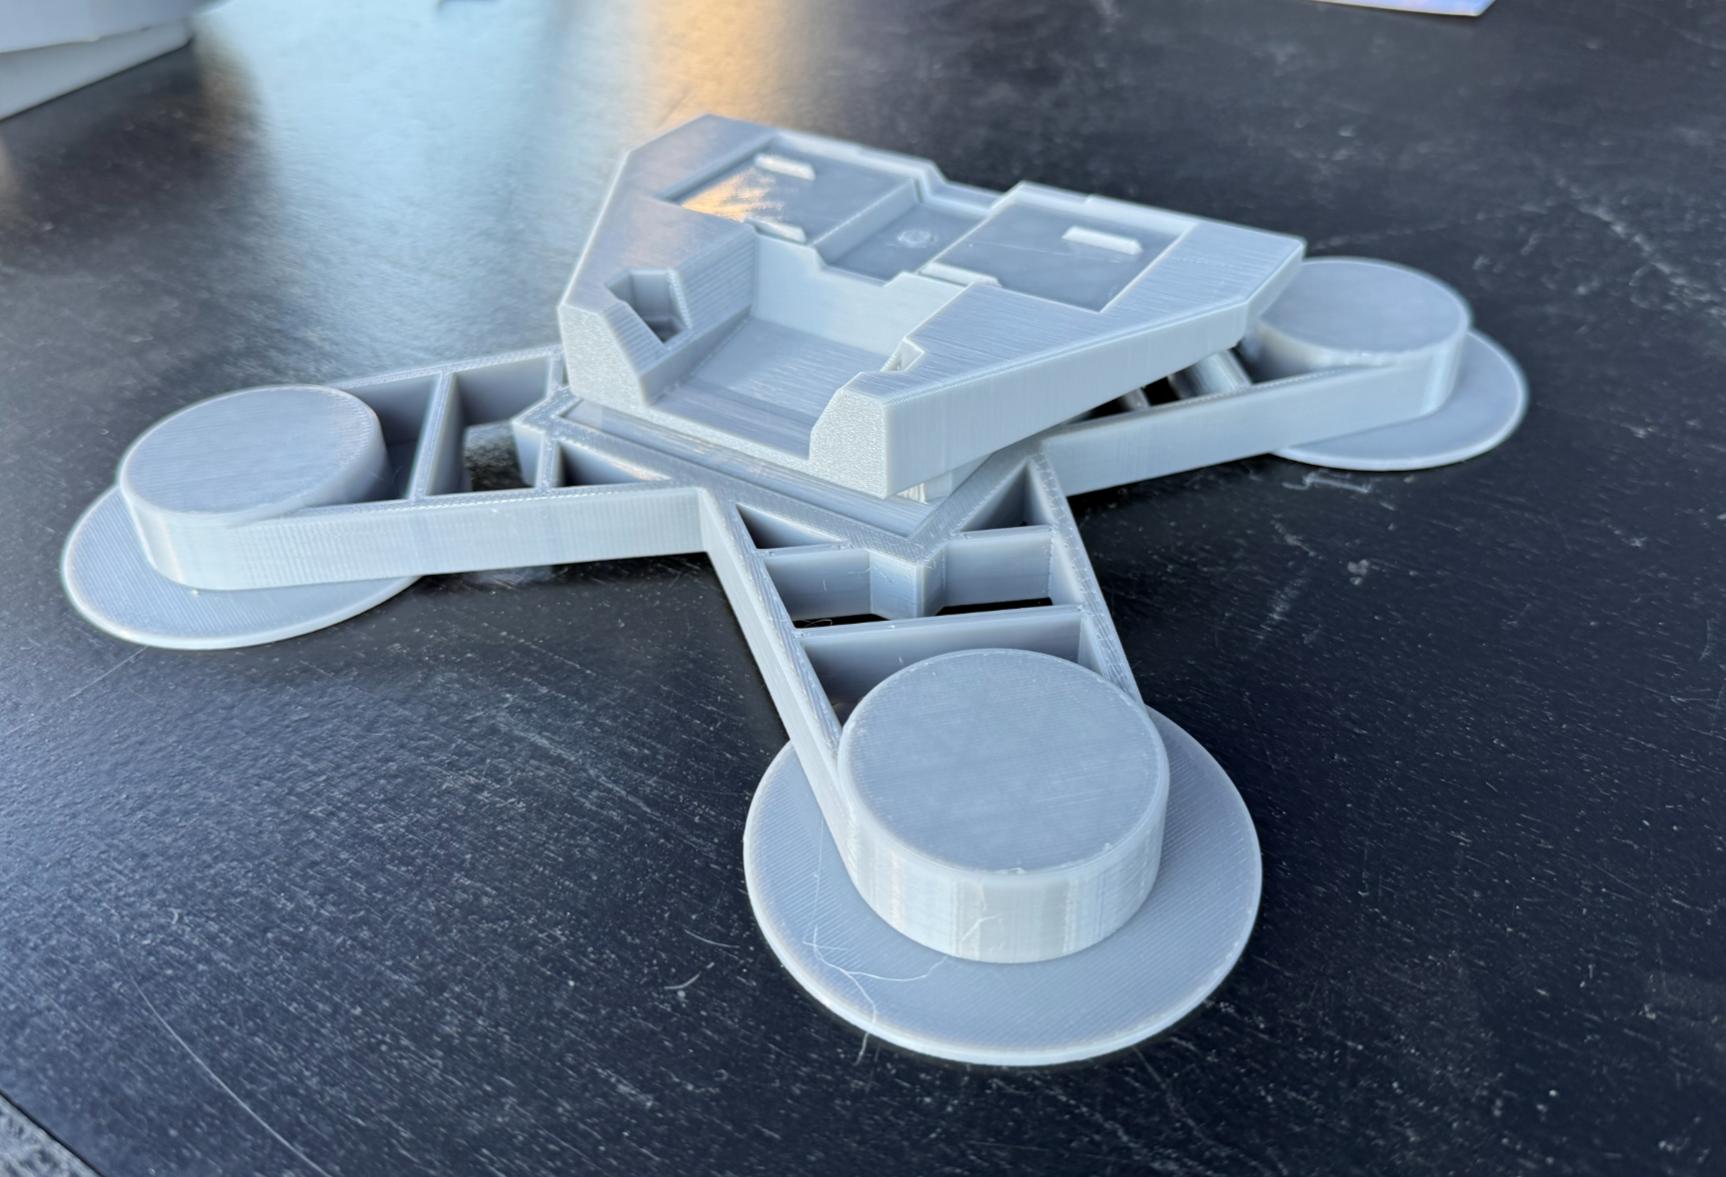
Attaching Antenna to Mount
Rotate the lock wheel in the opposite direction of "tighten" to bring the lock mechanism all the way down.
Slide antenna on to mount.
Rotate lock wheen in the "tighten" direction until snug. Do not over-tighten. Once snug, move the antenna back and forth to ensure it's fully locked on. Check the lock wheel again to make sure it's snug.
Do not use tools to tighten the lock wheel. When snug, it will lock into place.
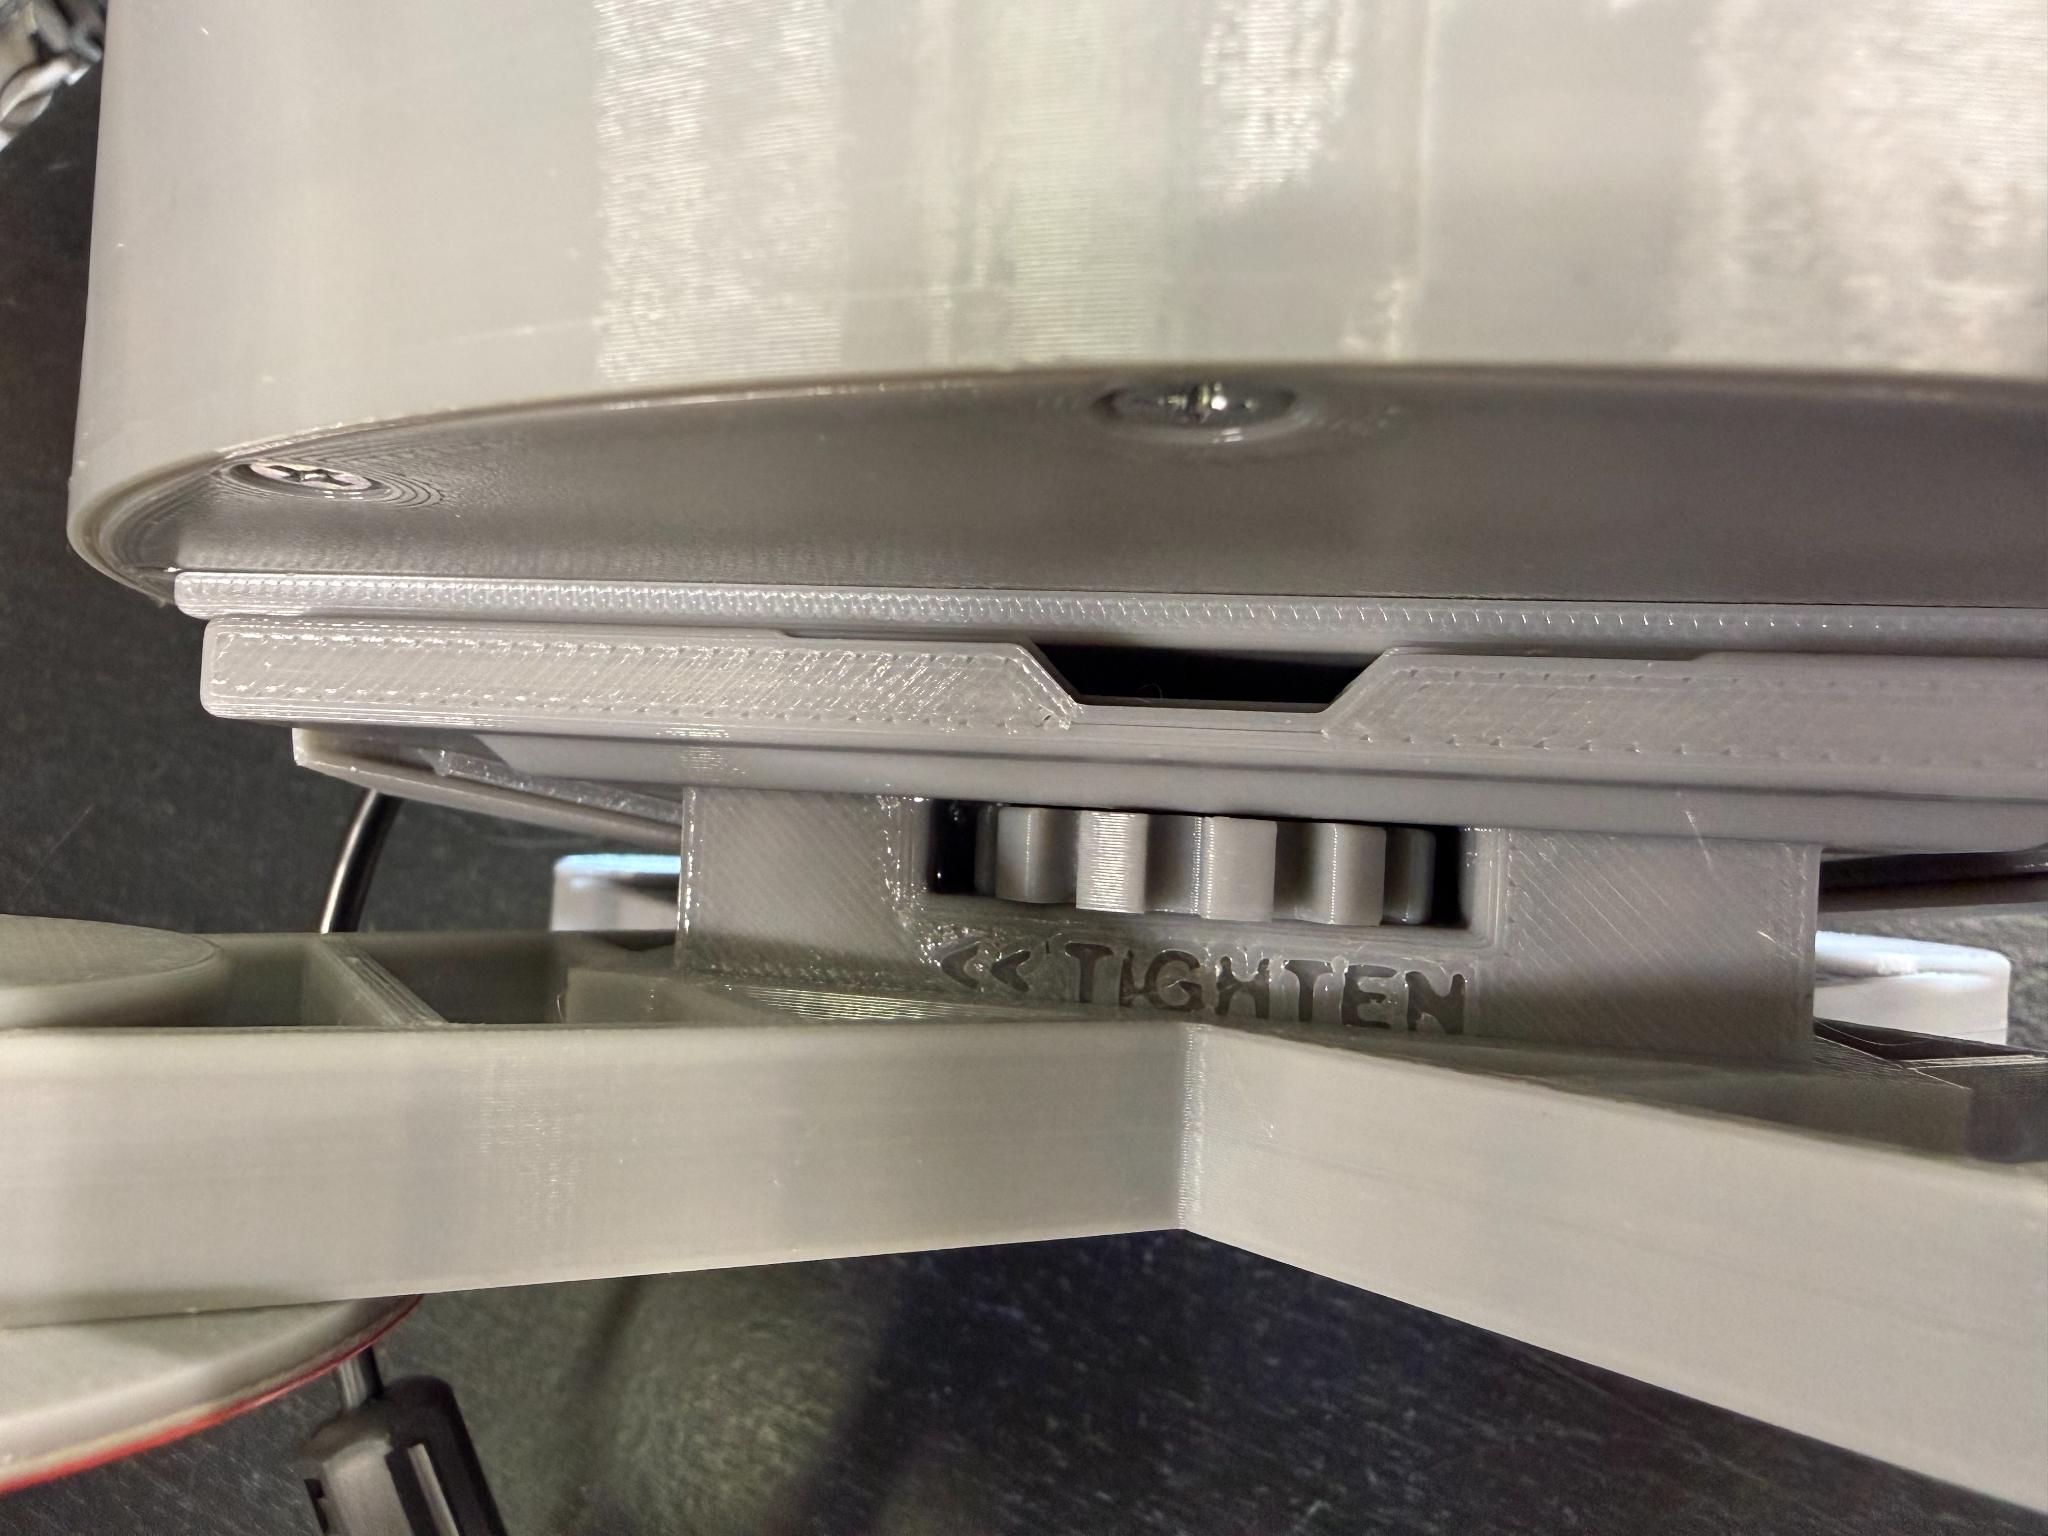
The lock wheel
Make sure to check that it's seated fully and locked
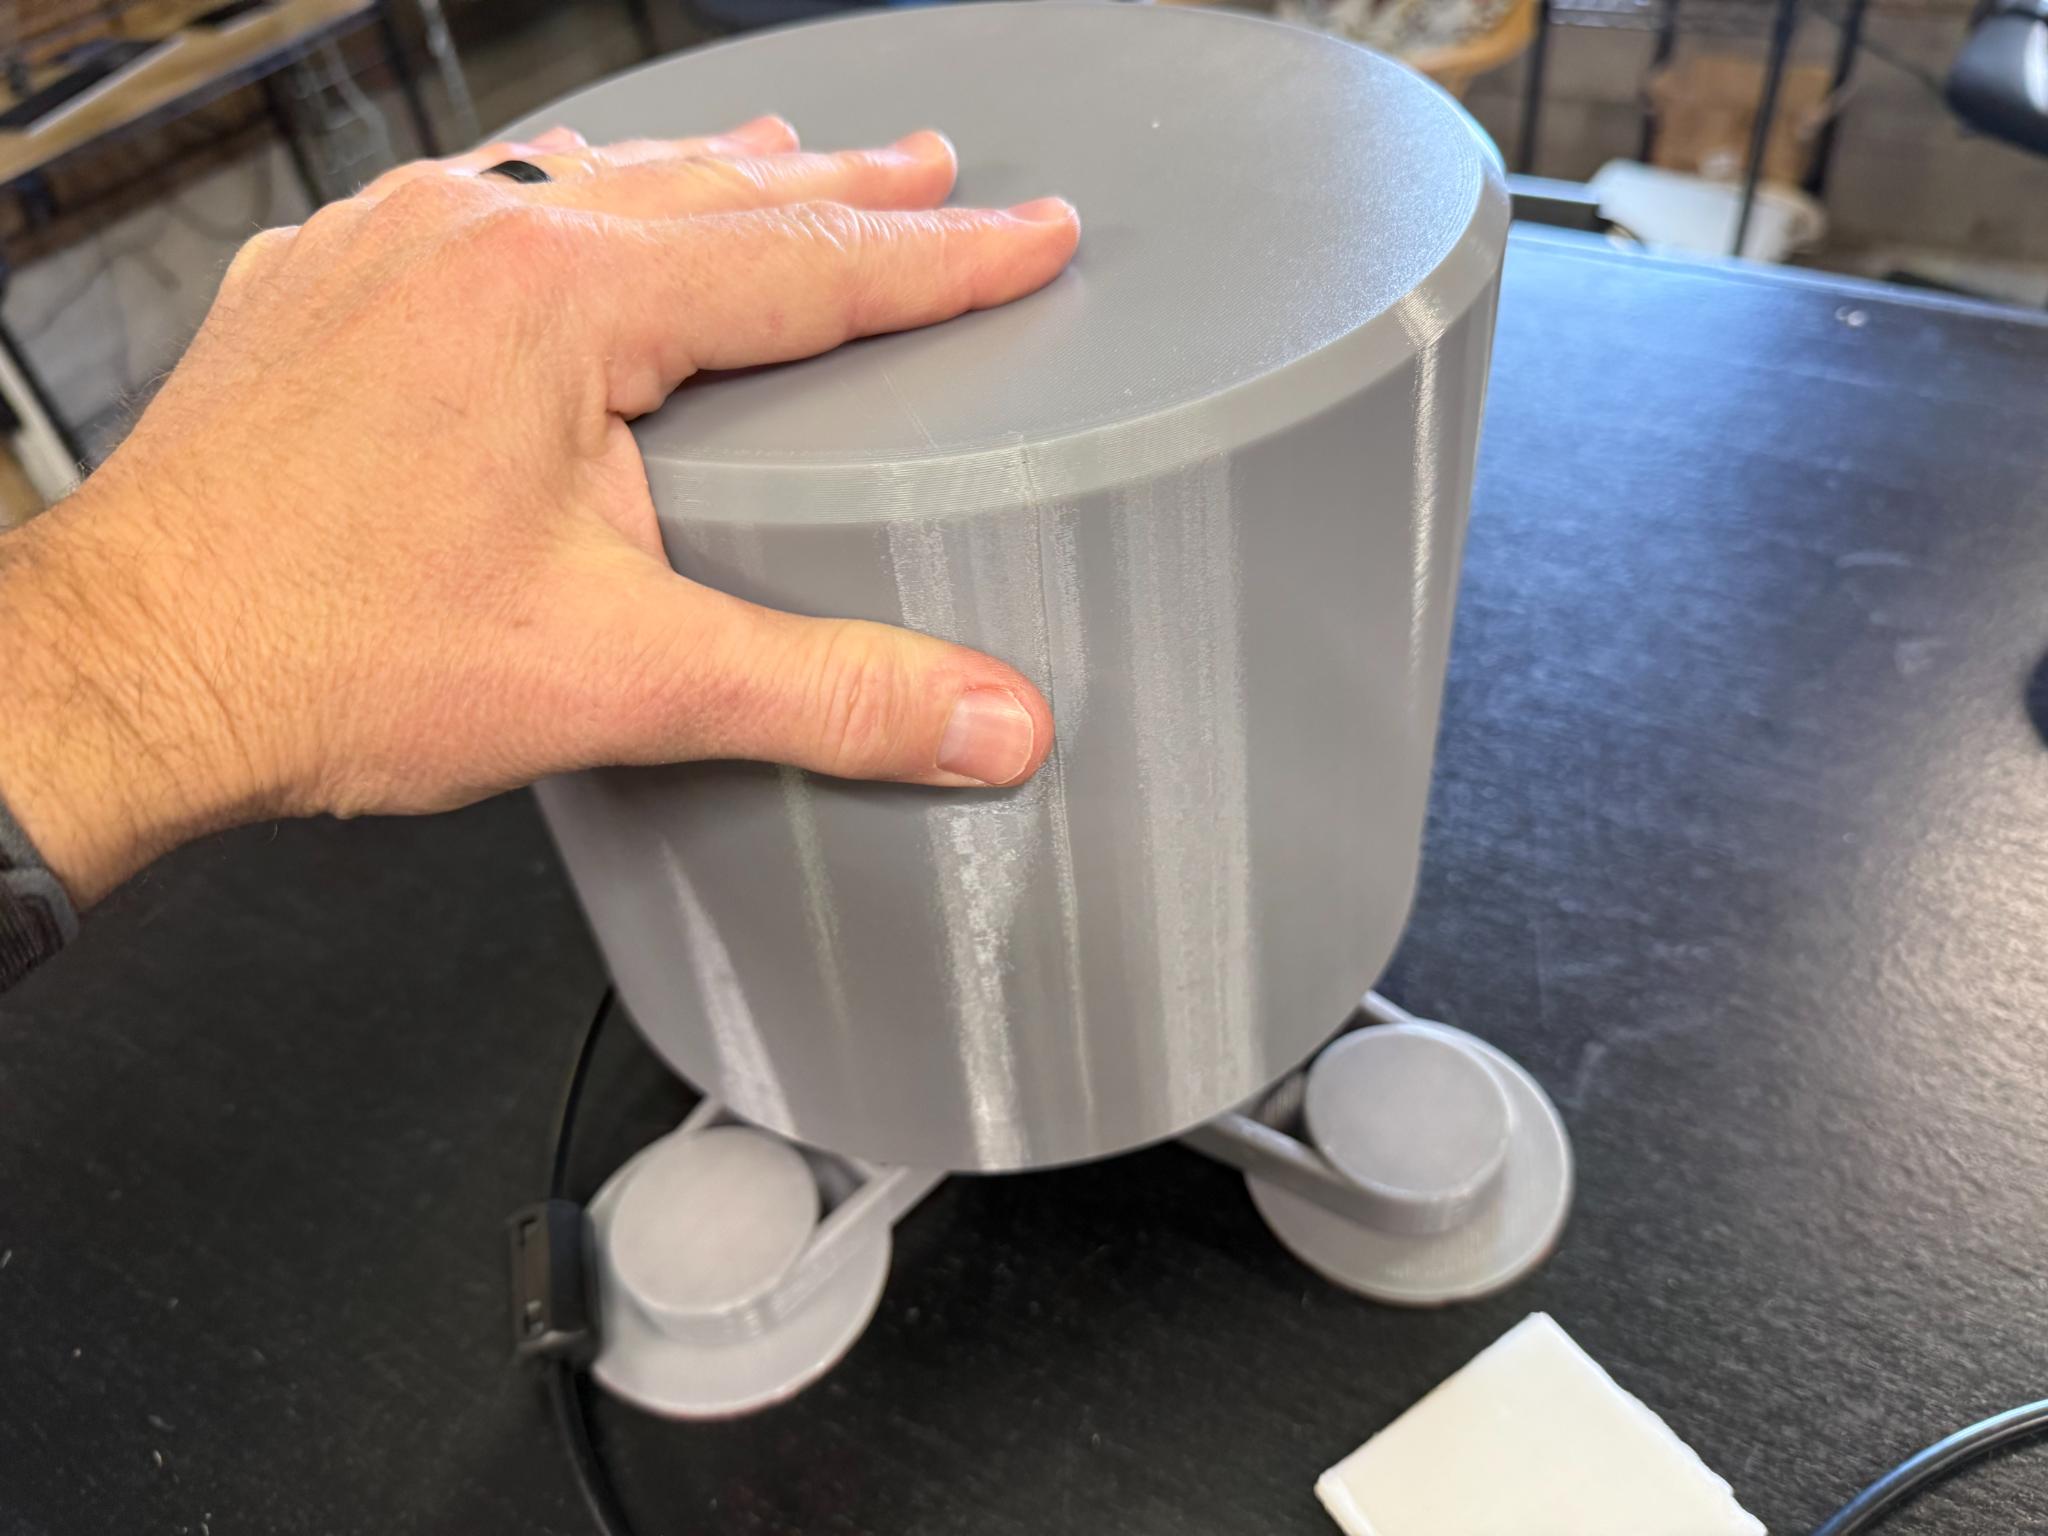
Magnet Mounting the Antenna
Magnet Mounting – Risk Statement
Magnets hold well only on sufficiently thick, clean metal surfaces. If the magnet mount is not fully adhered, it can fail in motion. You assume all risk for travel and road conditions when using magnet mounting. If in doubt, choose a different mounting method
If your mount was equipped with magnets, to mount your antenna using the X Mount, do the following:
1. Make sure the location is clean and clear of debris.
2. Attach antenna and X mount to the location.
3. Check it! Try to remove the antenna making sure it has a good magnetic adhesion to the surface.
WARNING - User must verify adhesion before every trip. If the surface, paint, coatings, or metal thickness is insufficient to create full magnetic contact, do NOT rely on magnets for travel. Mistakes in magnetic mounting can lead to antenna loss or vehicle damage.
Page 2
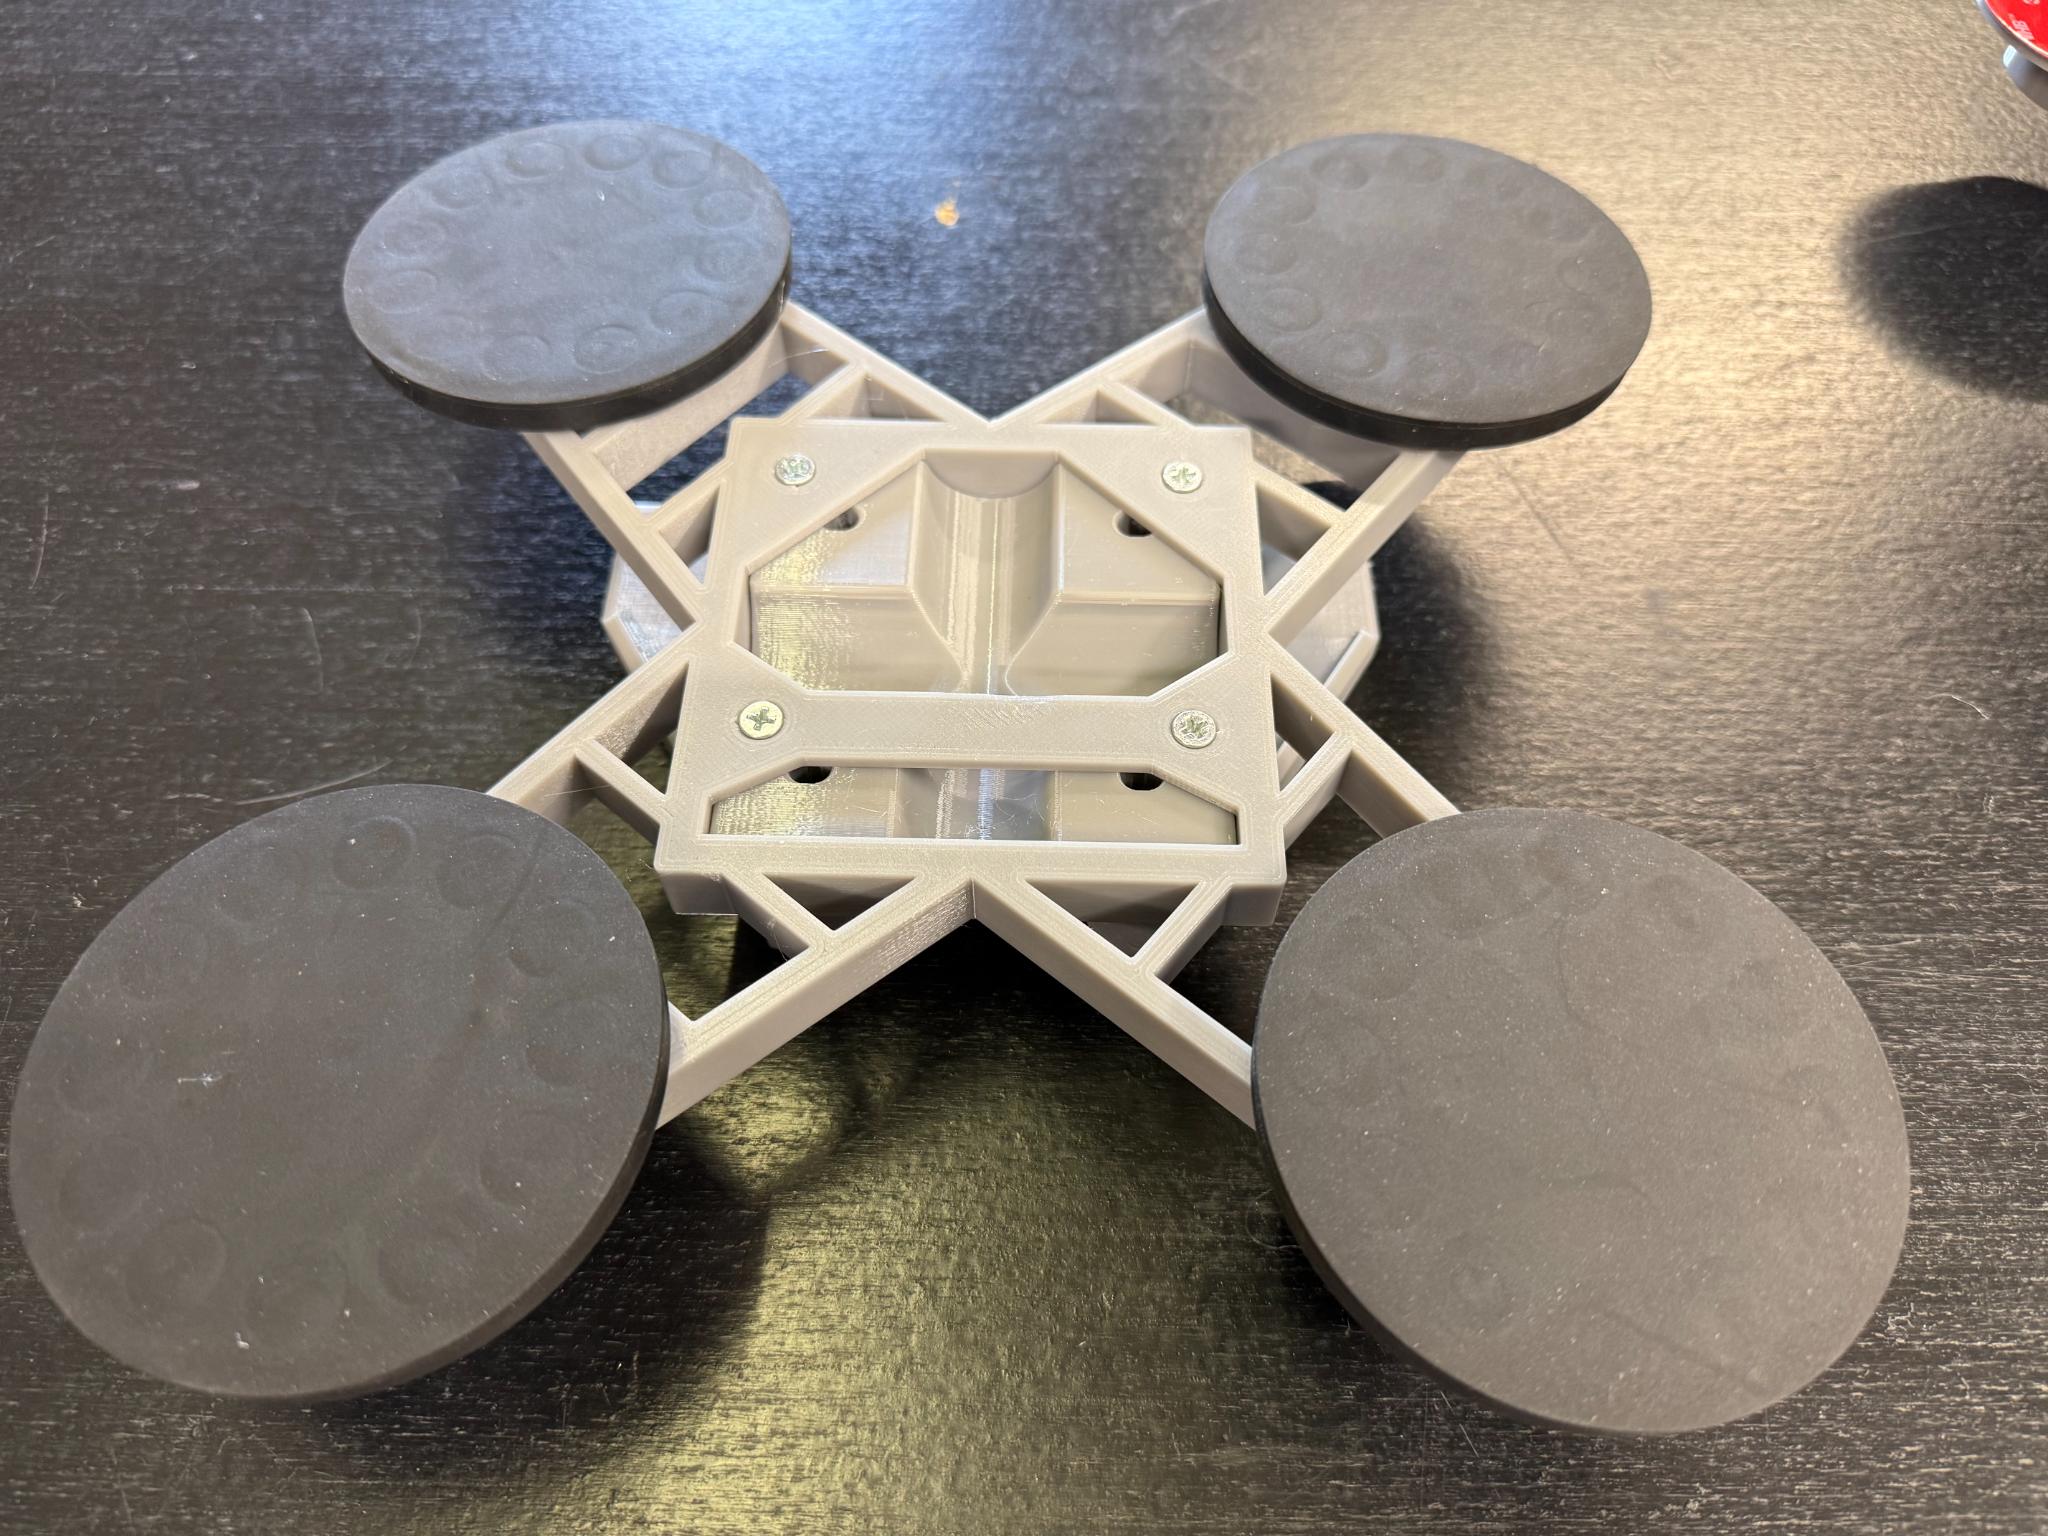
How to Peel and Stick your X Mount
Peel & Stick Attachment — Risk Statement
The adhesive pads on your X Mount must be applied exactly per instructions and must be allowed to cure without load for at least 24 hours. Adhesive failure during use is a risk you assume if instructions aren’t followed exactly.
The X Mount was designed to "peel and stick" to solid surfaces to mount your antenna.
IMPORTANT - please read and follow all instructions below to ensure good ahesion.
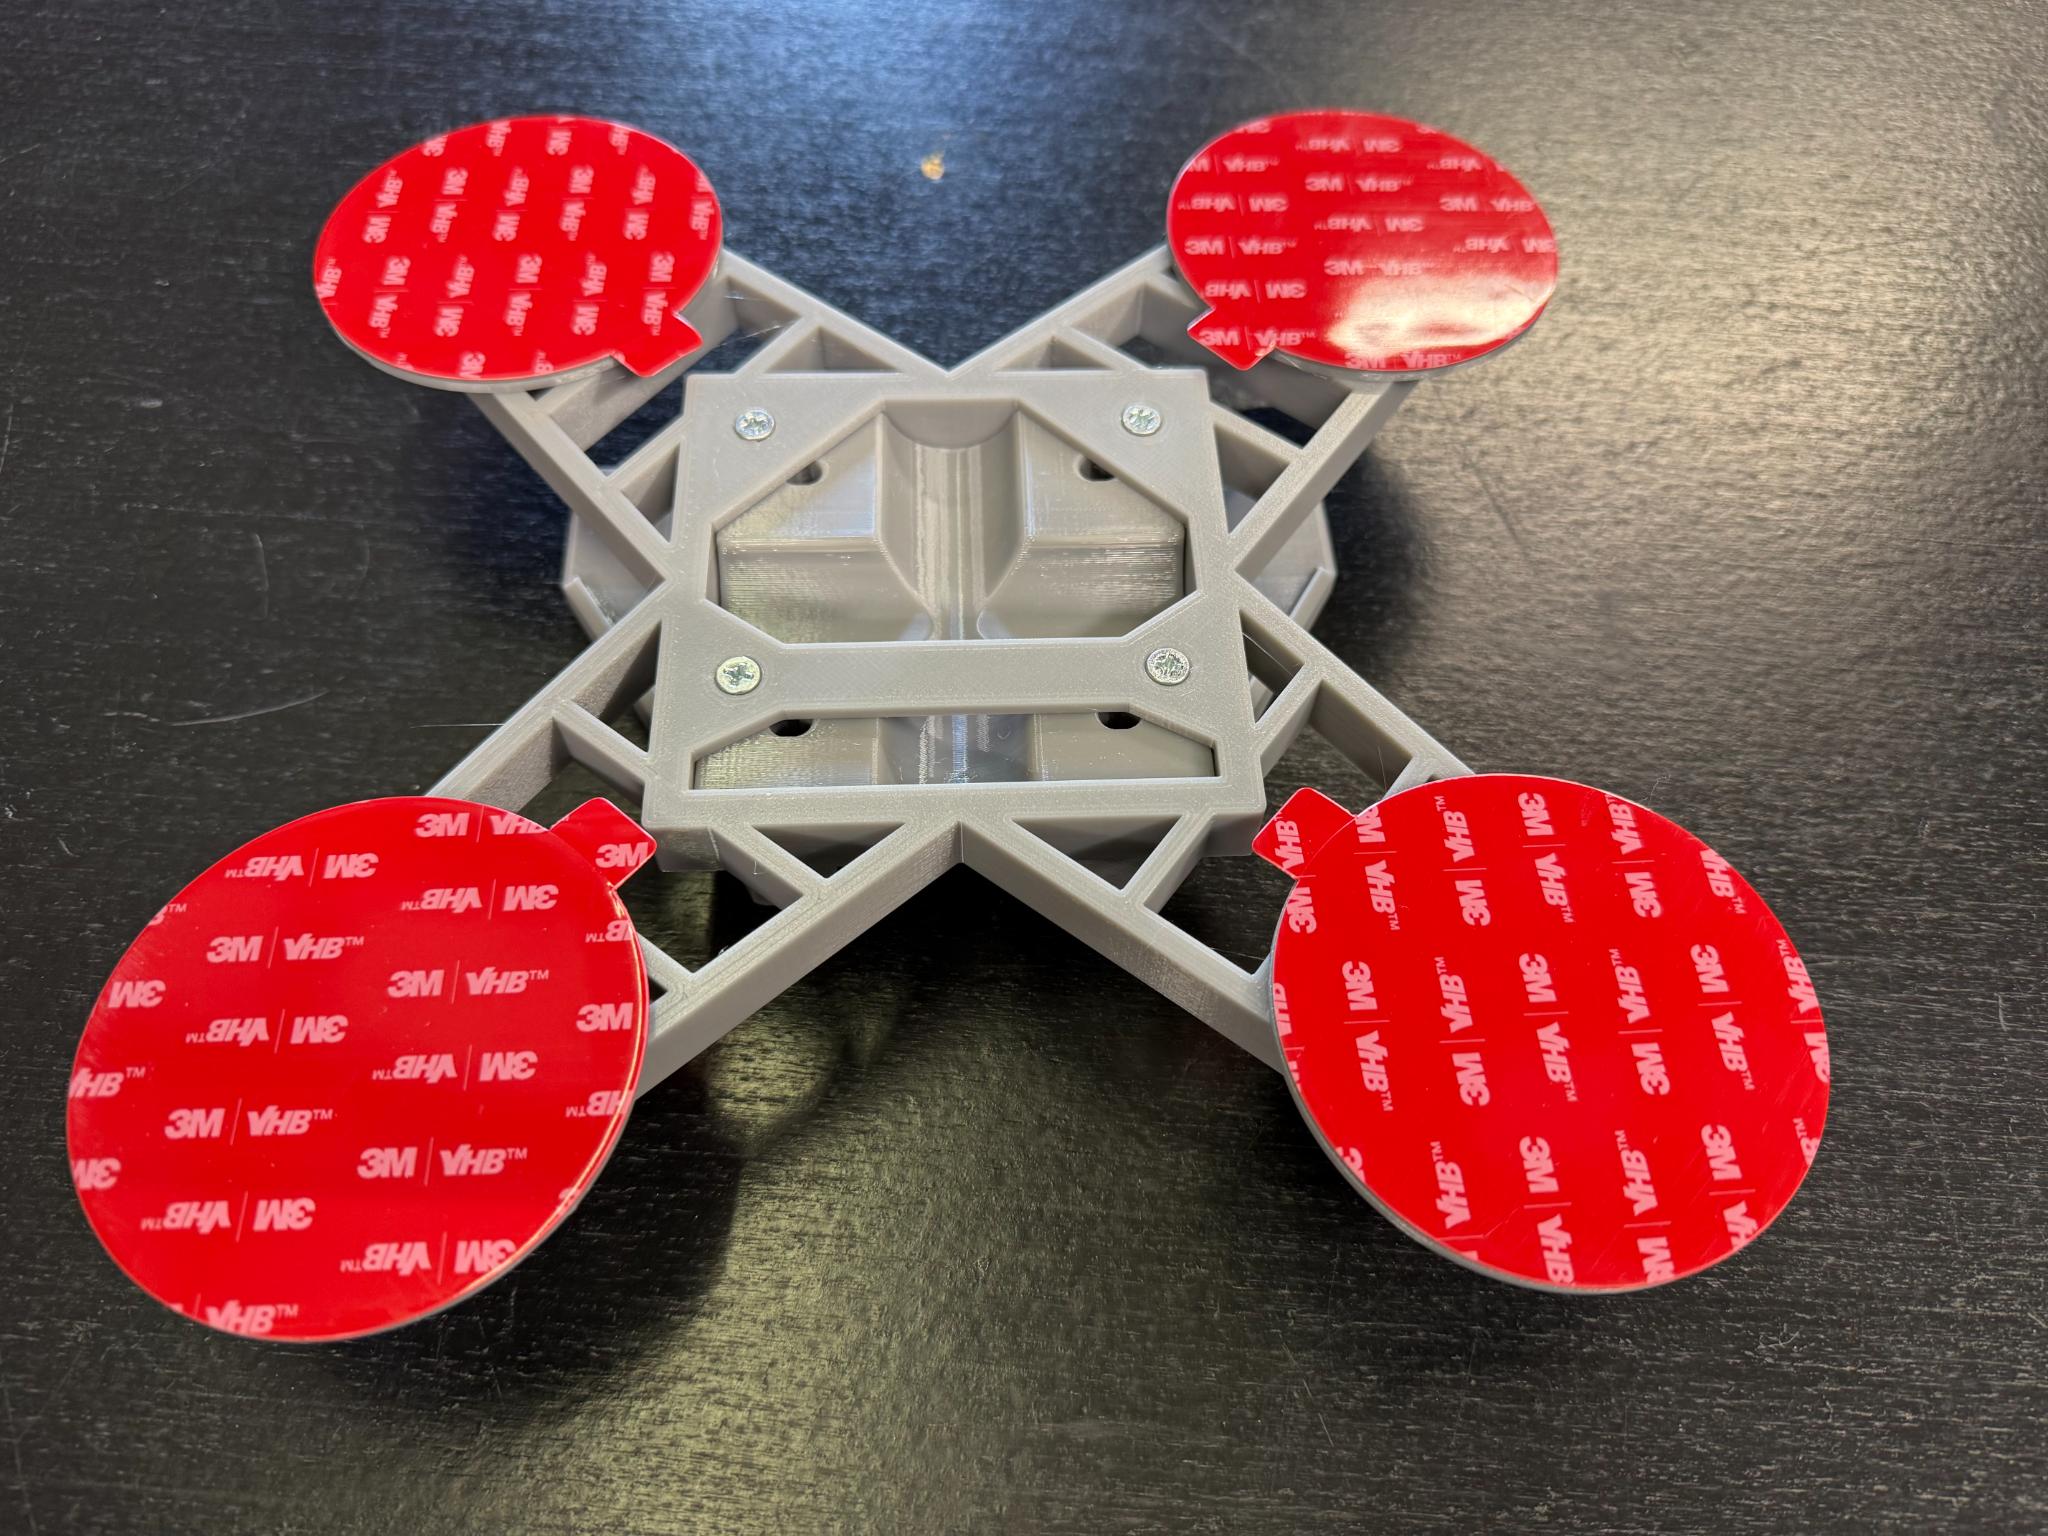
UHB Peel and Stick
1. Surface area must be prepared! Fully clean contact area, removing all dirt, debris, dust, oils, etc. Use a cleaner that will not leave a residue behind. Soap/water, alcohol, etc. Make sure area is fully clean and dry before moving on.
2. Once area is prepared and dry, peel the red backing off of the x mount pads and then stick to surface.
3. Press and hold X mount onto surface for 60 seconds.
4. Wait a FULL 24 hours before applying any force to the mount. (No driving, movement, etc)
WARNING - All stickers MUST BE IN FULL CONTACT with a clean, dry surface.
After 24 hours, check antenna. If the antenna moves too easily, DO NOT TRAVEL with the antenna. Remove the antenna from the mount and contact support.

Clean and prepare the surface.
Important — Surface Prep and Cure Time
Improve adhesion by preparing the surface well and avoiding travel until the full 24-hour cure time is complete. If the install surface is not fully clean, dry, and free of oils/residue, the adhesive may fail. Adhesive failure during travel is the installer’s responsibility.
Mount Maintenance
Inspection & Ongoing Responsibility
Adhesion quality can change over time due to weather, heat, vibration, or surface contamination. You are responsible for regular checks and must remove the antenna if adhesion weakens before travel.
Check your mount monthly to ensure full adhesion. Before long trips, check your mount. After sitting for a period of time, check the mount to make sure the adhesion is still good.
If the peel and stick mount is attached to metal and has been sitting in the hot sun for a prolonged period of time, you must check the mount regularly to ensure adhesion.
If the mount has any movement to it, or any of the feet have lost adhesion, the antenna must be removed immediately.
How to remove your X Mount.
The X Mount was designed to be a permanent peel and stick mount. Once mounted, it will be very difficult to remove. You can use tools to remove the stickers from the x mount feet, but once removed, the X mount feet will no longer be useable and will need to be replaced. Please contact support for replacement feet.
Page 3