

Gen 2 Router Setup Instructions
START HERE
If purchased with our POE modem, these instructions should be completed before attempting to install and setup the modem/antenna.
Large print instructions can be found on our website at INSTYCONNECT.COM under the Help -> Install Guides menu.
Page 1
We recommend assembling and configuring the system on a table or desk before you permanently install any of the components. Follow the steps in this document to ensure you have internet connectivity, and then plan your install.
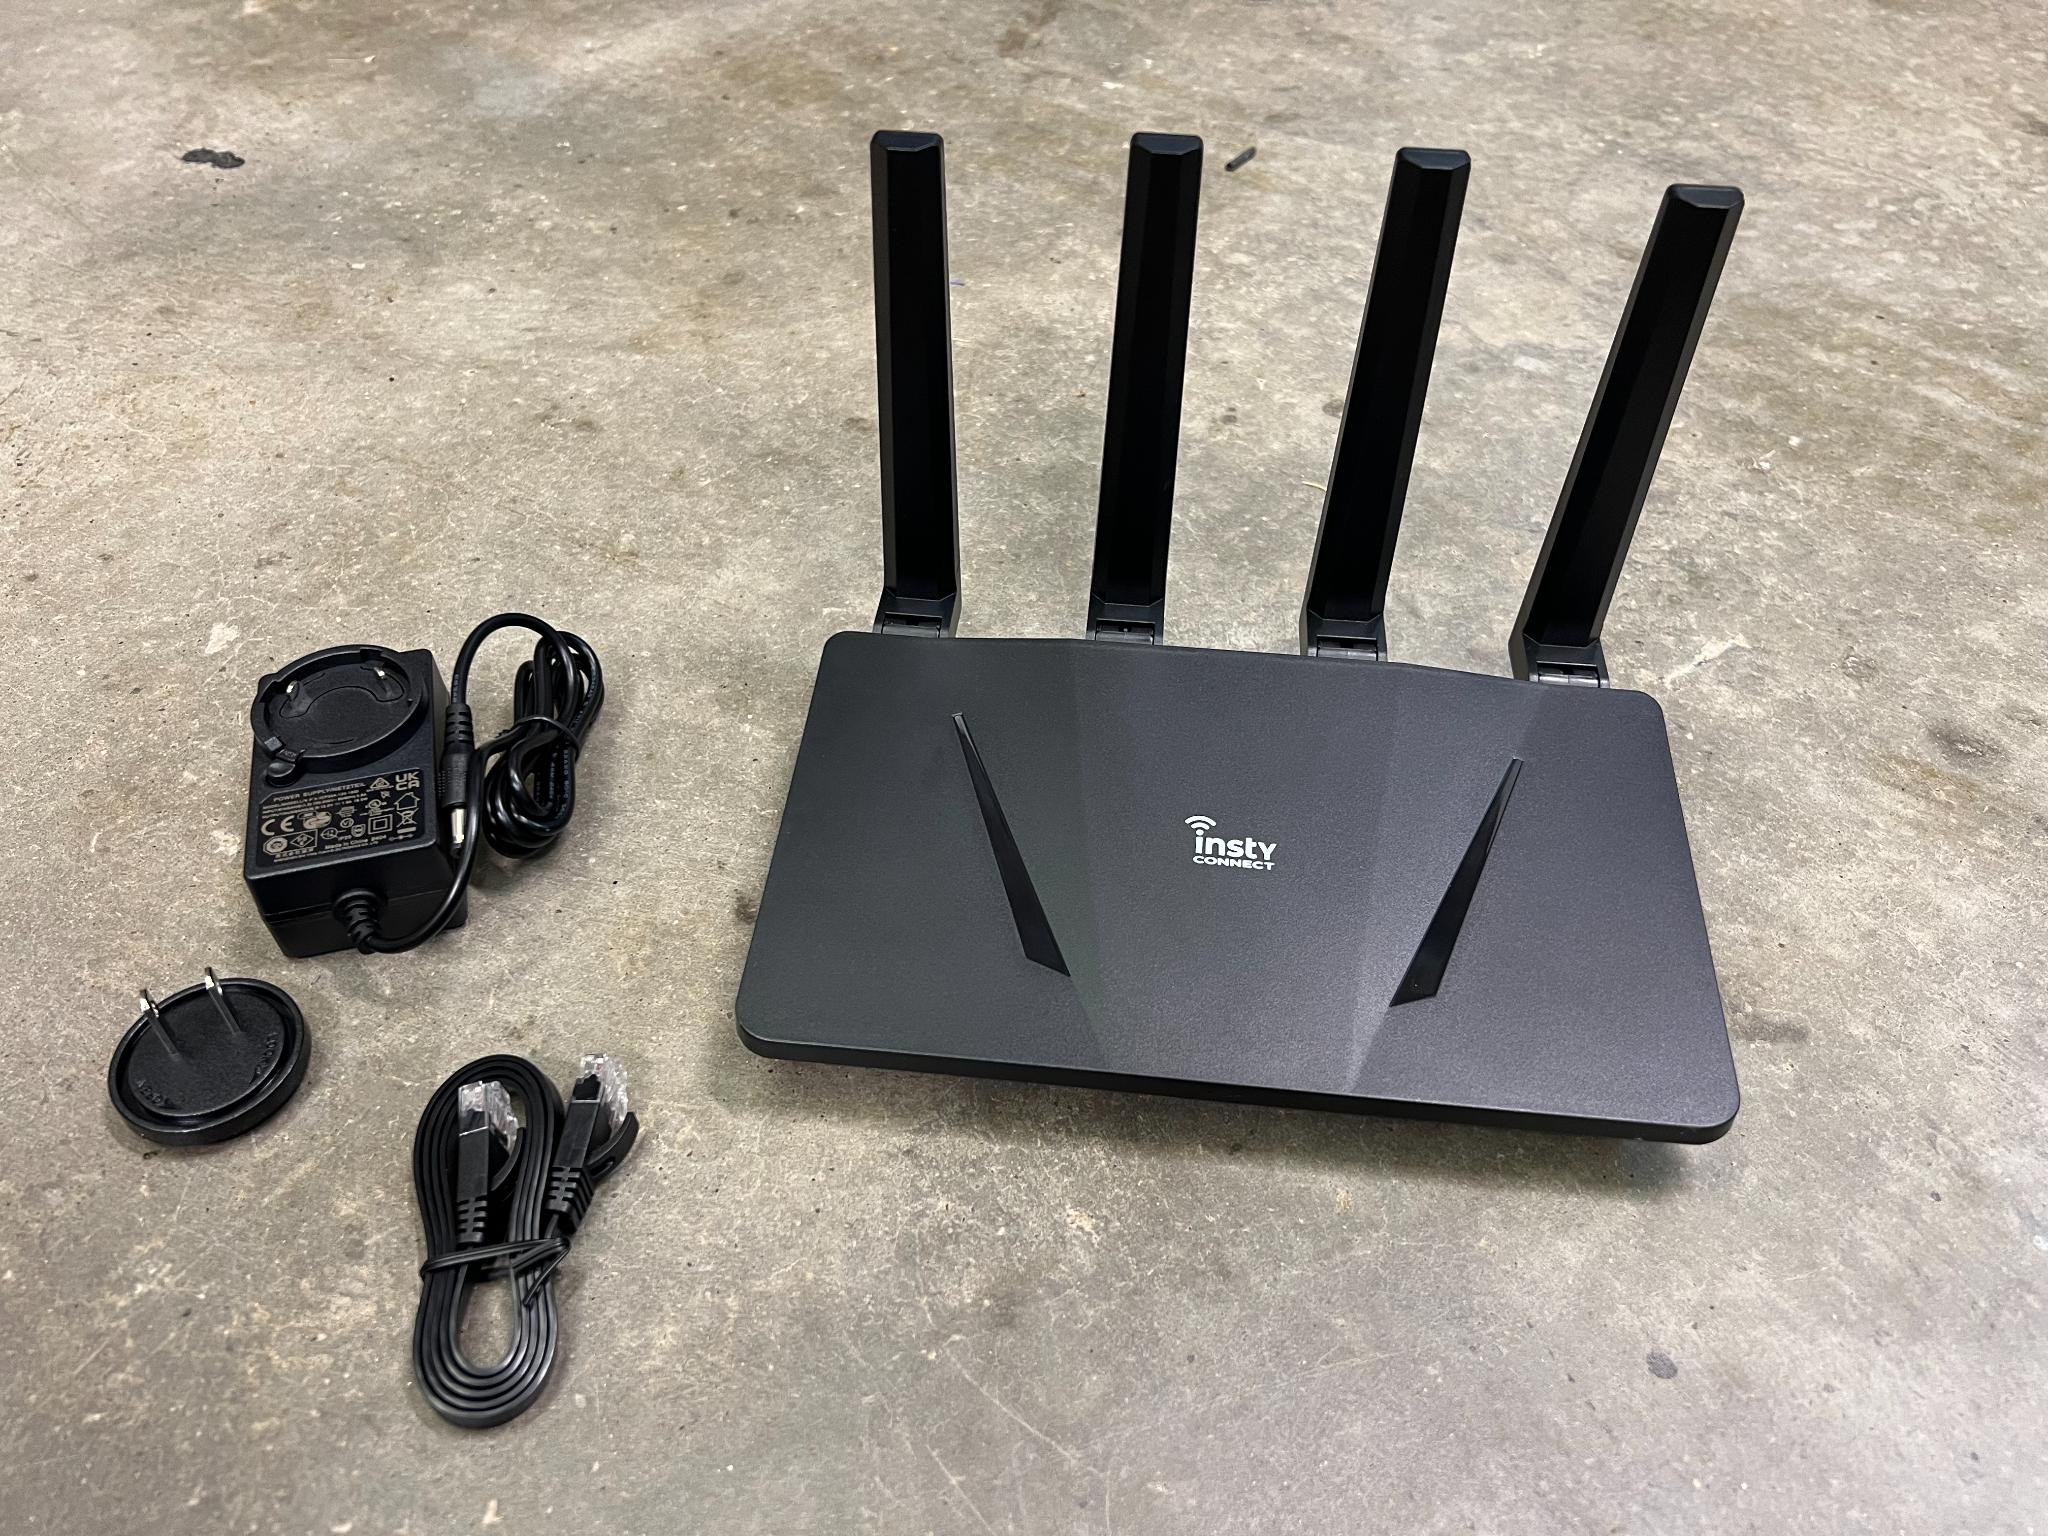
Unpack all components
- The Insty Connect Gen 2 2.4g and 5g Wifi 6 Router
- Ethernet Cable
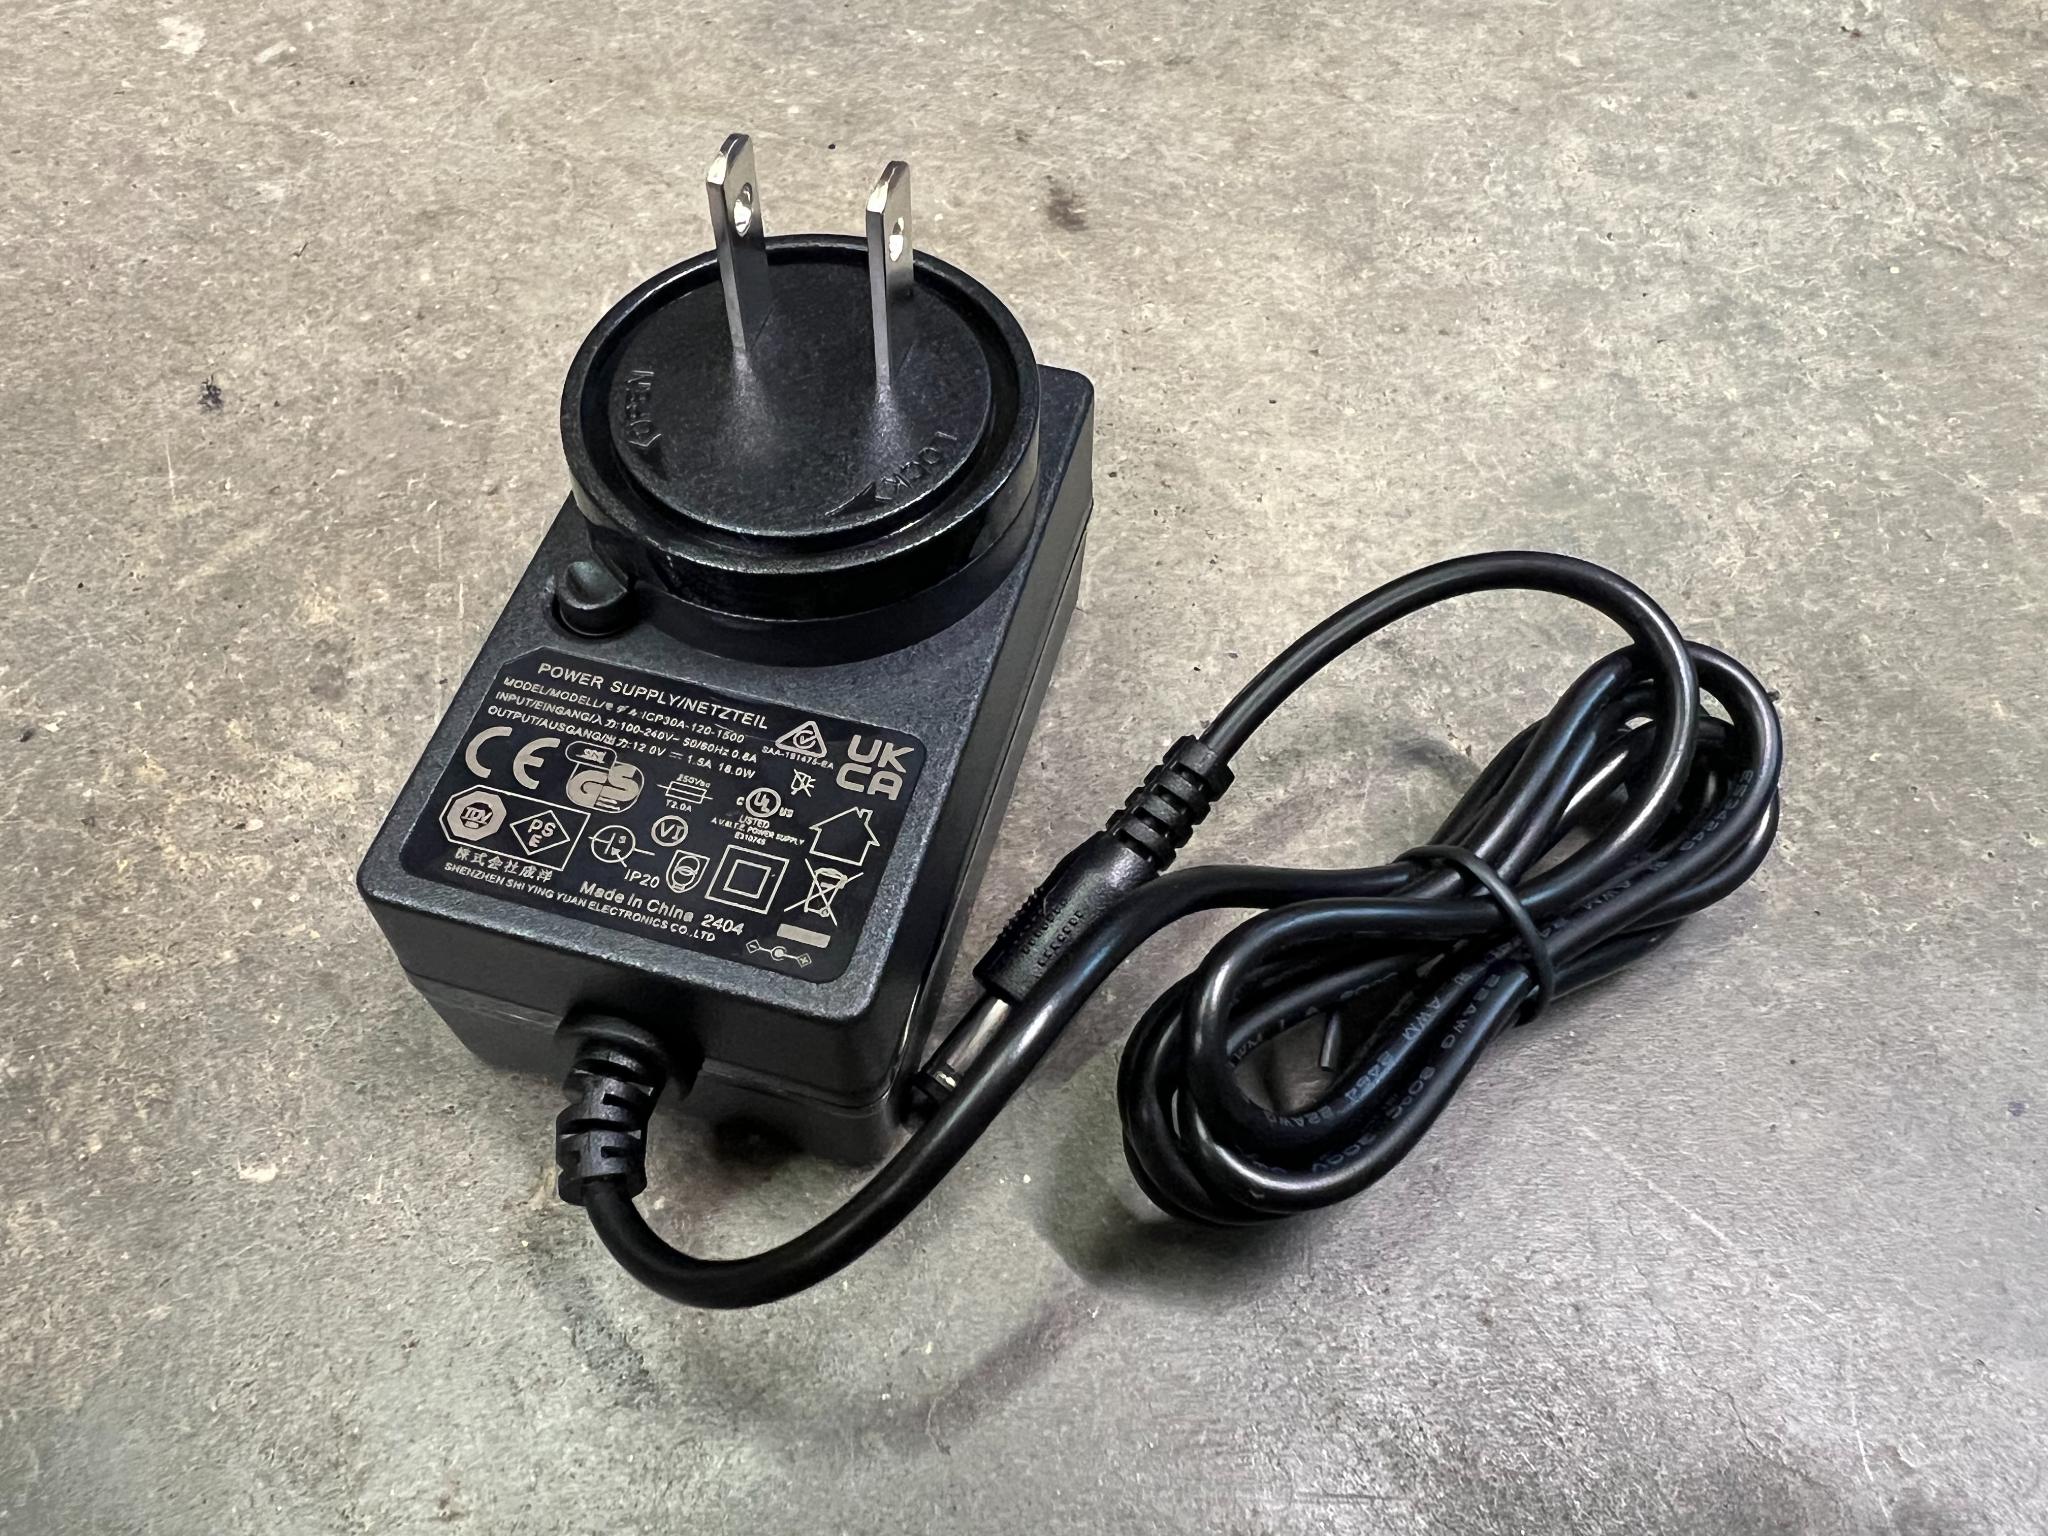
- Power Adapter - Assemble plug on to power adapter as pictured below:

Power On
Connect AC Power adapter to the power port of the router. NOTE router is 12v DC only! If wiring direct to DC, please make sure it's within 12-14V.
Connect Via Wifi

Search for the SSID of the router on the bottom label. It will look like:
- IC-AX1800-XXX
- IC-AC1800-XXX-5G
The "5G" network is best used for high speed devices that are close to the router. The original 2.4 network is longer range, but may have slower speeds.
Use the "Wifi Key" printed on the sticker when asked for the Wifi passcode. The password is case sensitive.
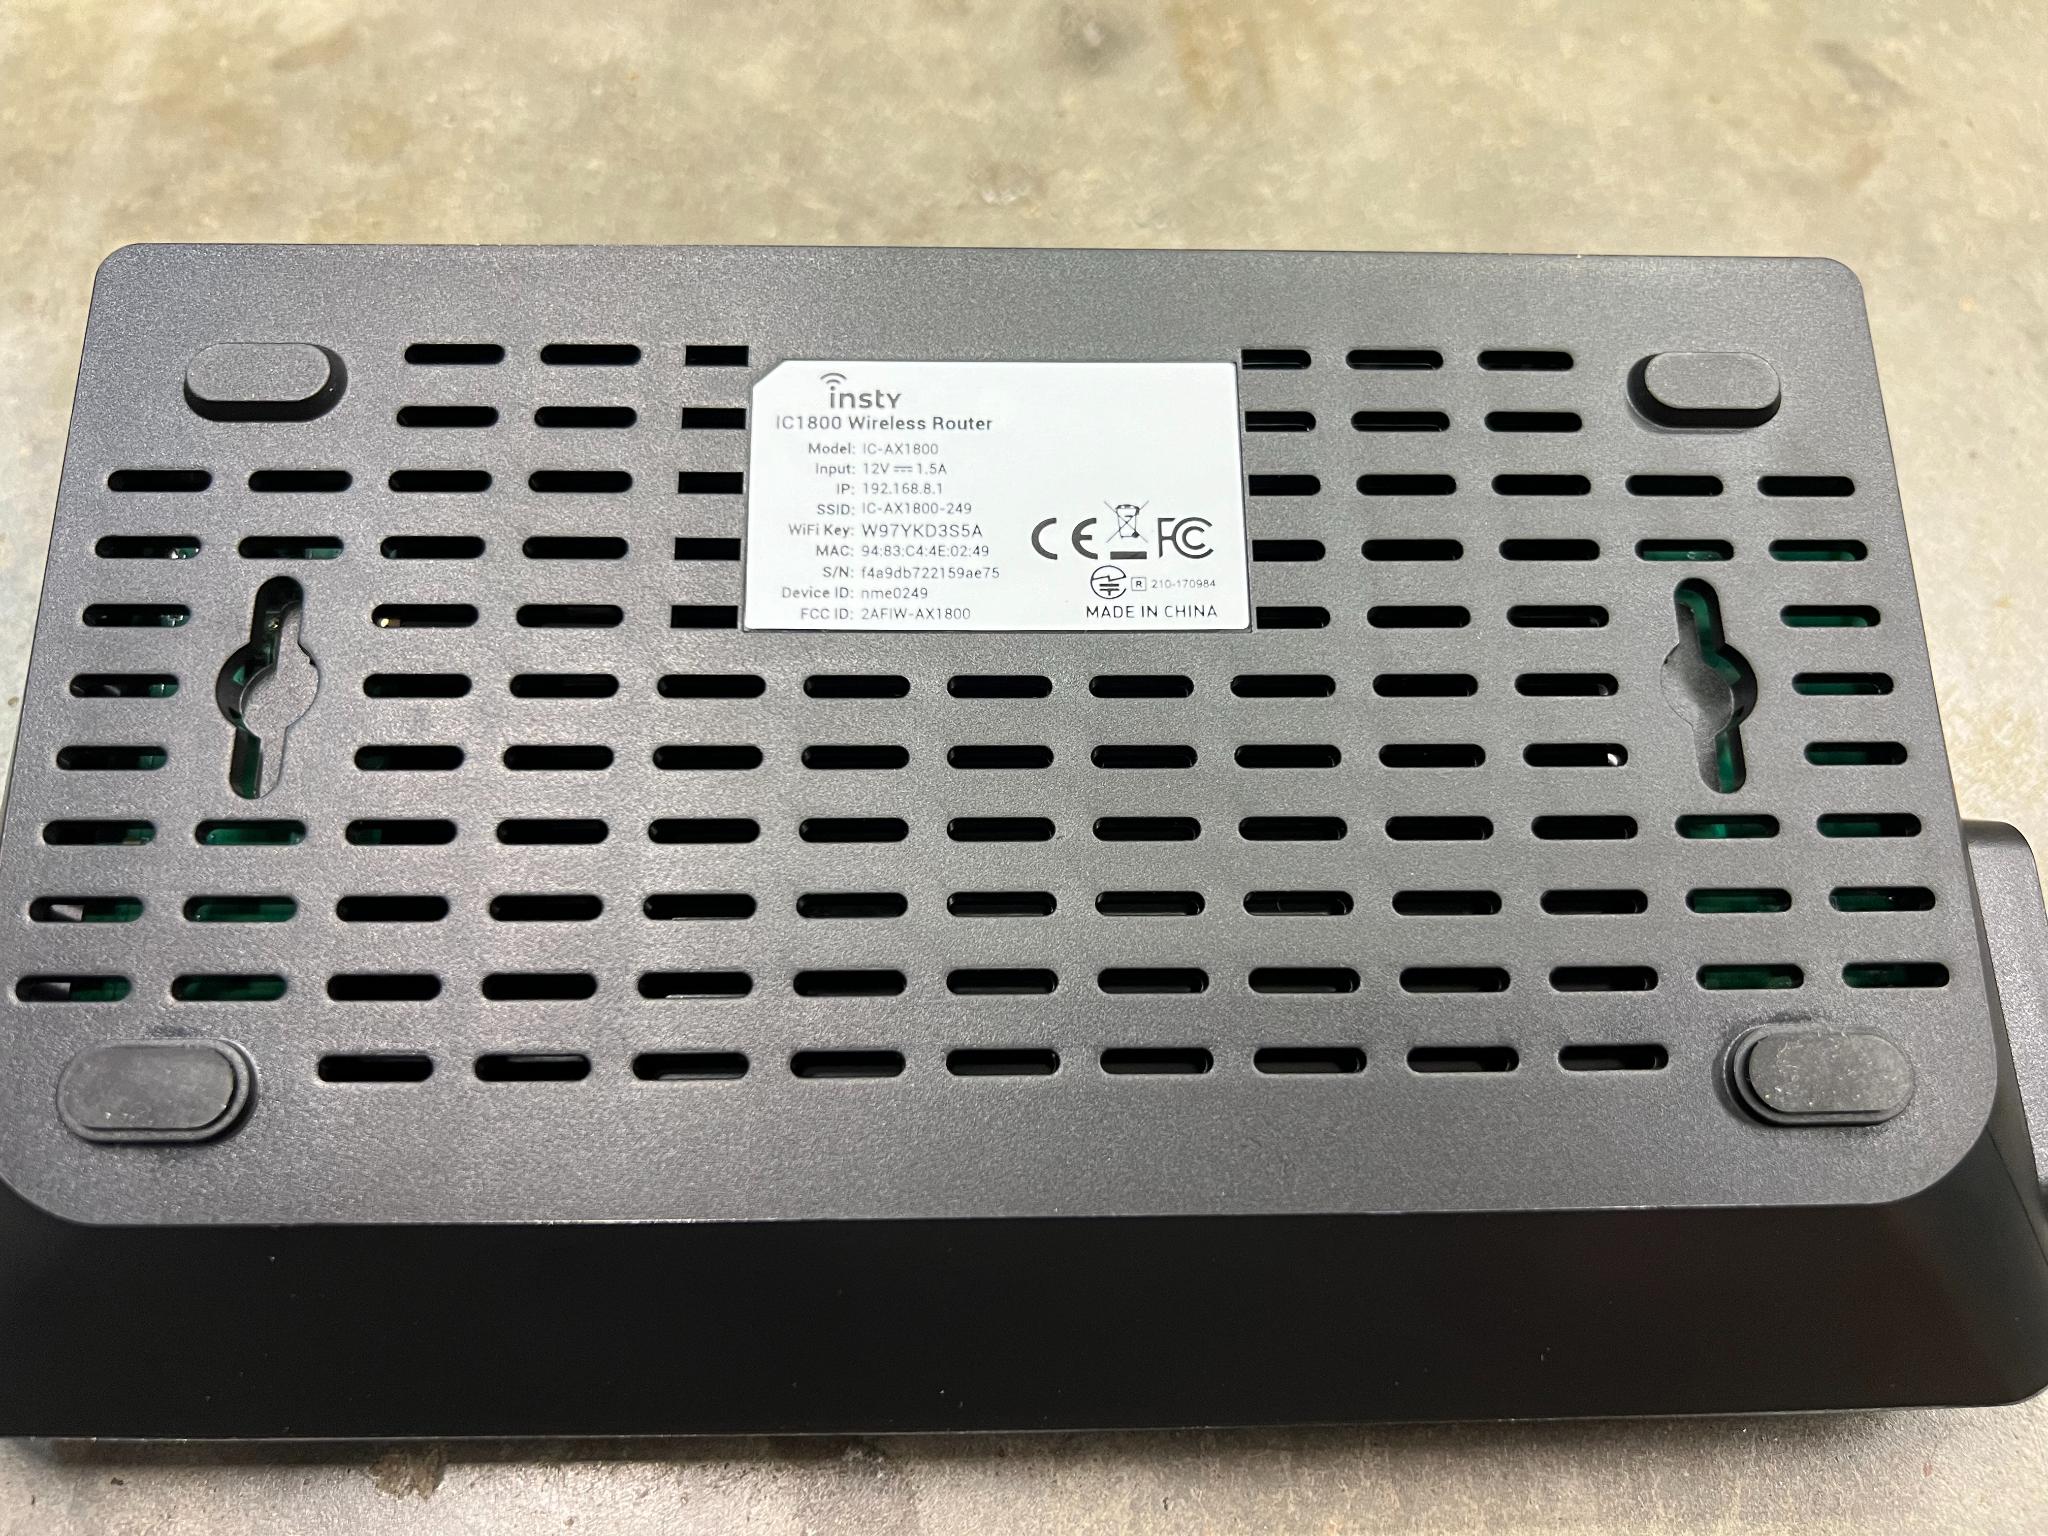
Wifi network info printed on the bottom sticker of the router.
Page 2
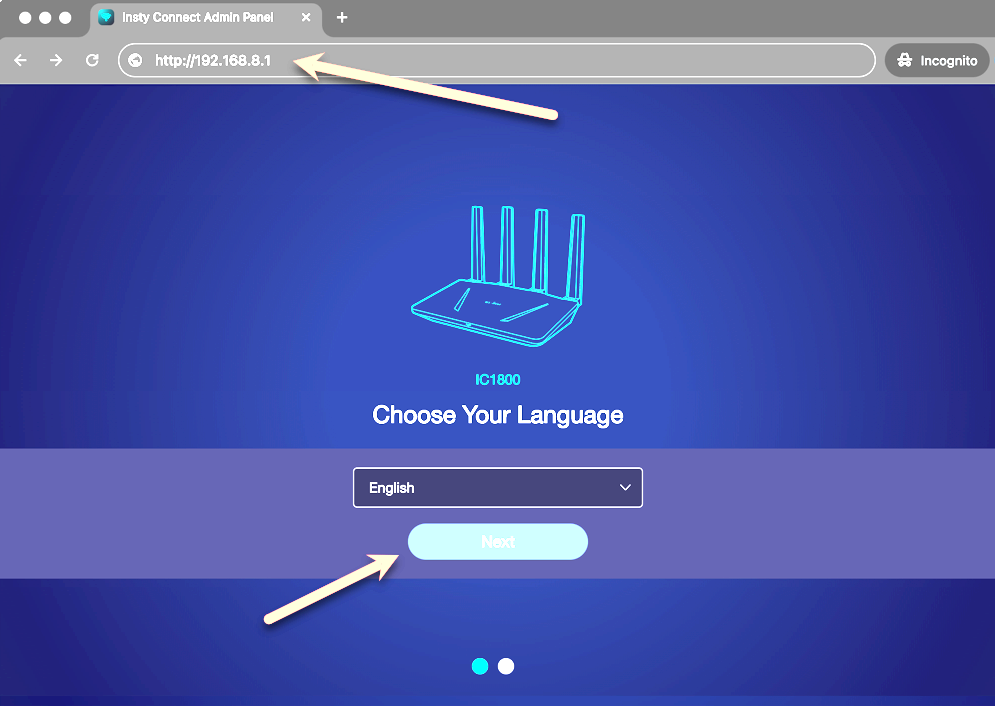
Access the Router Admin Panel and Set Router Password
Open your phone, tablet or computer browser and type: http://192.168.8.1
(You must include the http:// - not https)
Set your language.
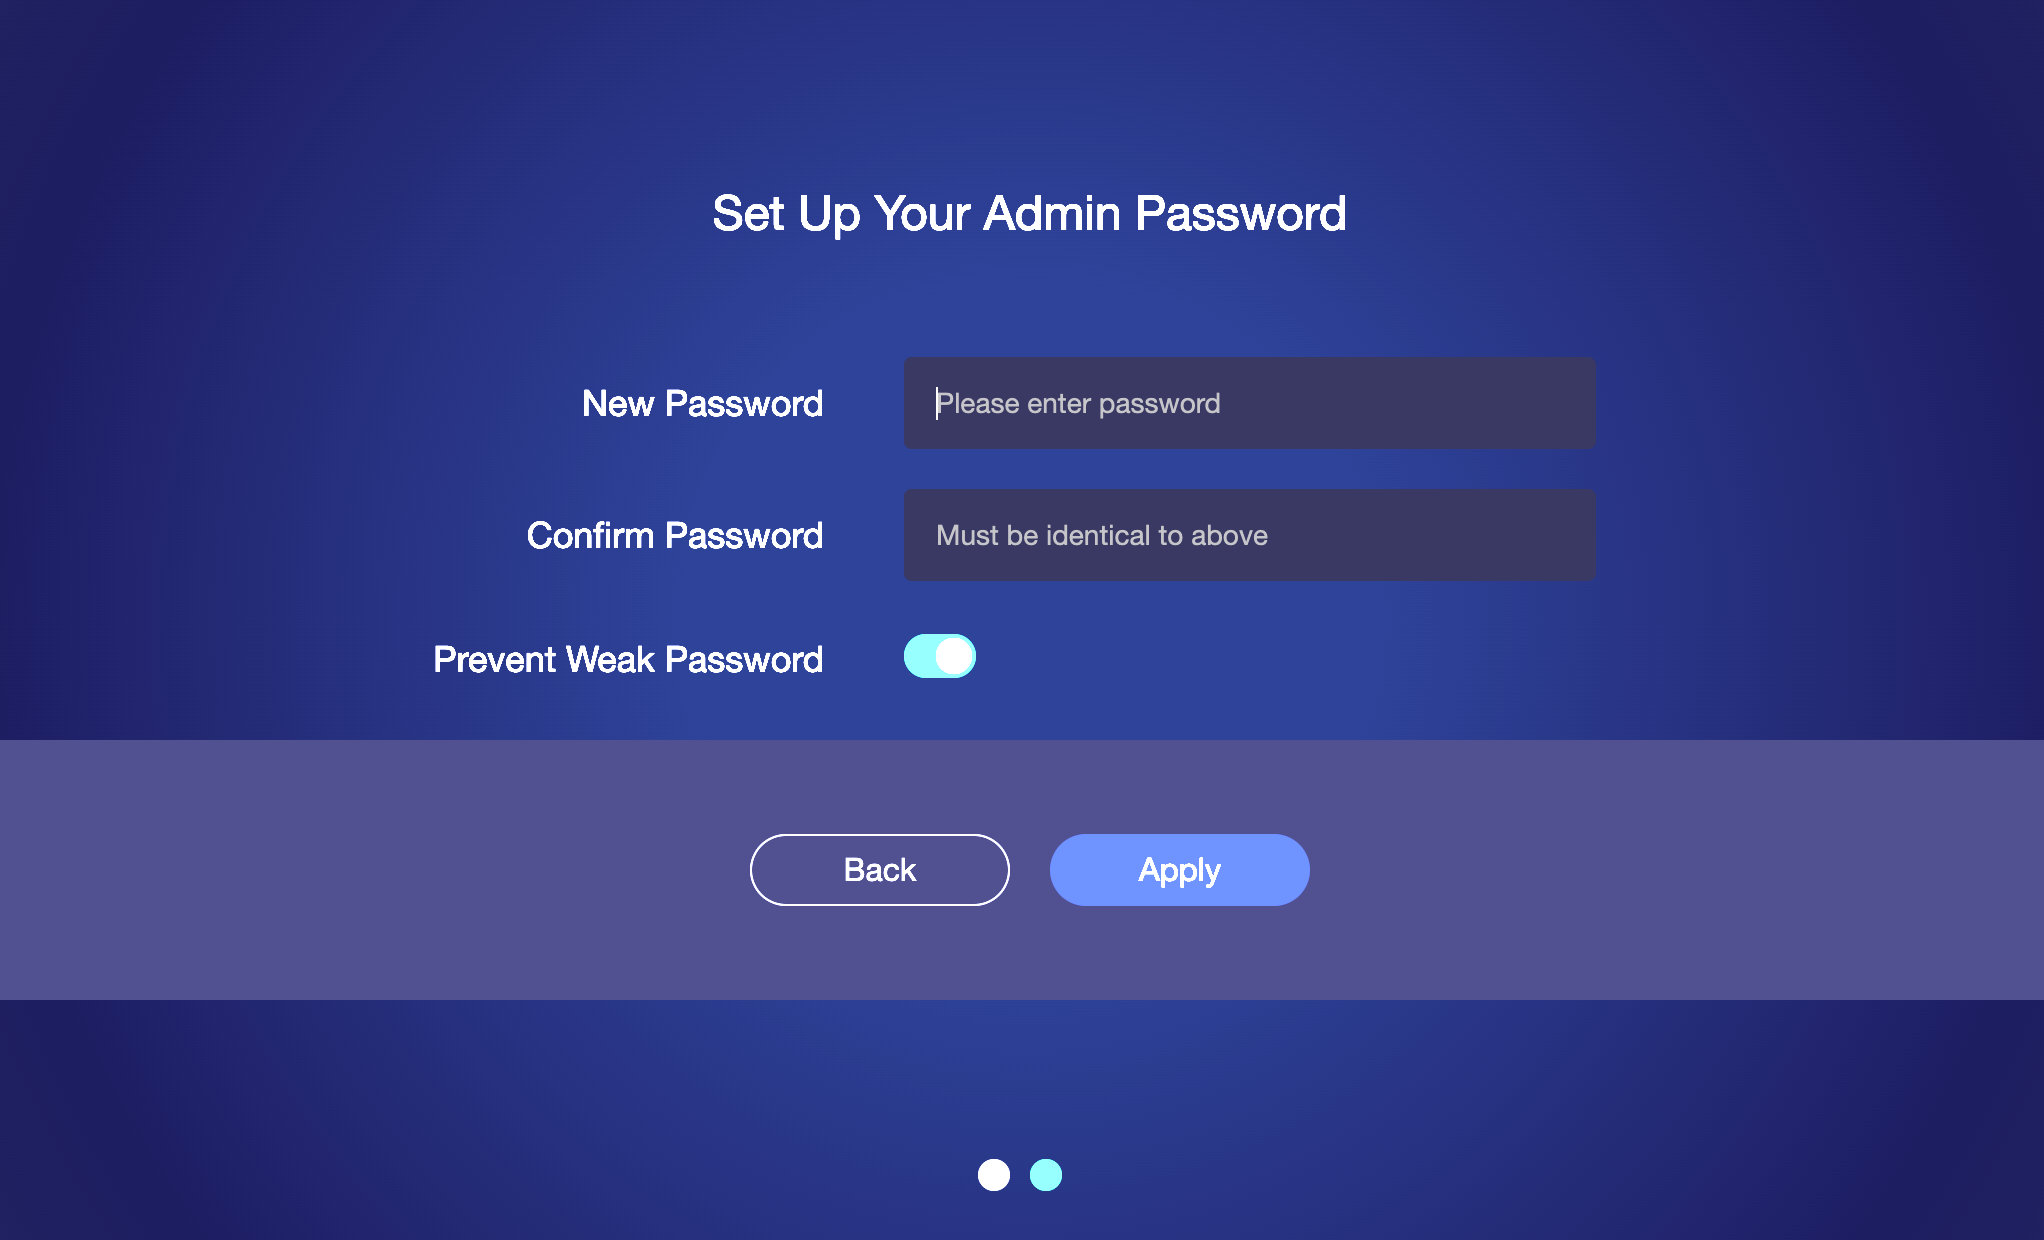
Once you click next, you'll be asked to set your router password.
The Router Password is for making changes later on, THIS IS NOT YOUR WIFI PASSWORD.
REMEMBER THIS PASSWORD! You will want to write this down as it will be required any time you make a change to the system.
This is the password to make changes to the router, it will not change your Wi-Fi Password.
Create the Quick Dashboard App for your Device
The quick dashboard is going to be your first contact point for Insty Connect, so you can see what the system is doing. You will head here first for any troubleshooting, and to manage your Insty Connect.
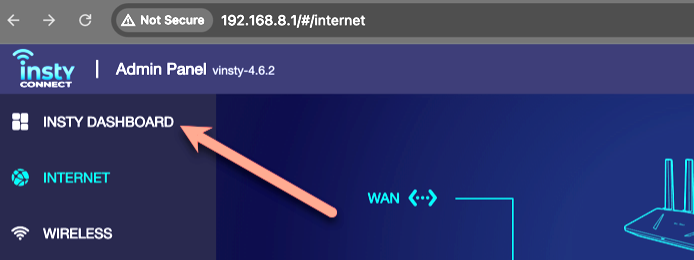
From the main router admin page, click on the "Insty Dashboard" link in the upper left menu.
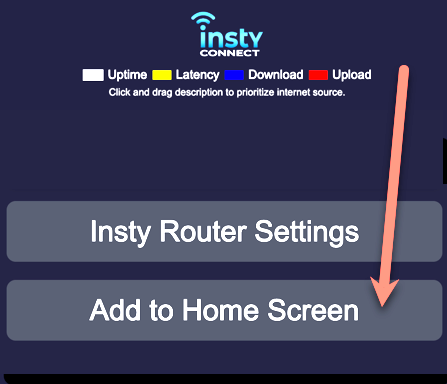
At the Insty Quick Dashboard, scroll to the bottom and click on the "Add to Home Screen" button to see instructions on how to add the "app" to your Apple or Android phone or tablet.
If you want to manage your Insty from a PC or Laptop, Bookmark this Quick Dashboard as you will want to have a quick way to this screen.
The URL for this screen is: http://192.168.8.1/quick.html
Dashboard - http://192.168.8.1/quick.html
Page 3
How to Administer your Insty Connect
The Insty Connect includes a state of the art dashboard that can show you how your internet is working up to the minute.
We'll touch on the administration of your Insty Connect system in the next instruction booklet. We also have an online version on the main website under Help -> Install Guides.

Insty Connect Gen 2 Router Admin Panel - http://192.168.8.1
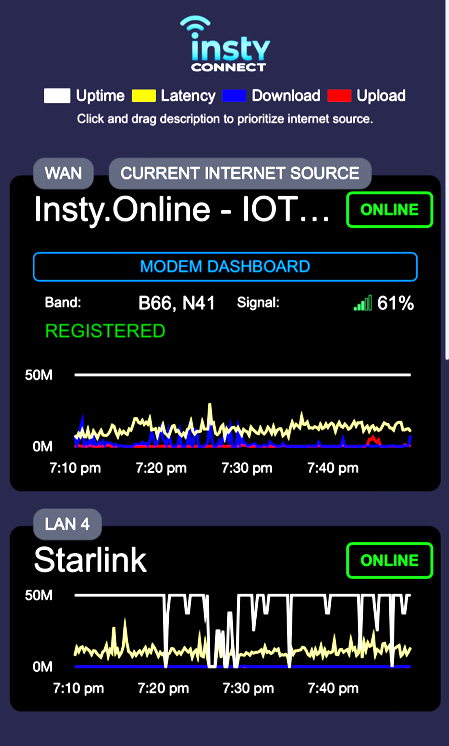
Quick Dashboard
Troubleshooting
If you have any issues, we've put together easy to follow articles in our knowledgebase to help with any issues that may arise:
https://instyconnect.com/troubleshooting
If you run into something that you can't find in our knowledgebase, you can reach out to us by using the info below.
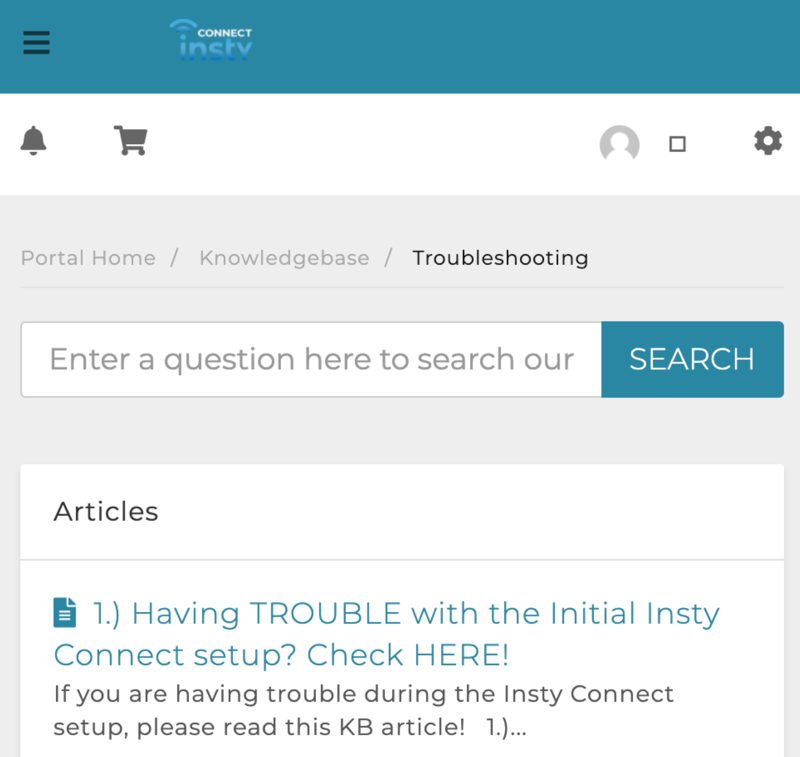
Our searchable Knowledgebase
Contact Us:
To contact us, visit the main website: https://instyconnect.com
In the menu, click Help -> Contact Us.
From our family to yours.
Thank you so much for your purchase of an Insty Connect! You are supporting a family-run small business and we really appreciate it! We hope you love this device as much as we’ve loved putting it together for you.

Page 4